Now that you have logged in to your Web Hosting Plan as per previous article lets get started with designing your website.
There are many ways to start designing your website however the following two options are the most common choices:
- DIY Sitebuilder from SitePad or SitePro
- Using WordPress
Using the DIY Sitebuilder
This is the easiest method that can be used to design your website. To access this sitebuilder be sure to login to your web hosting control panel service first as per the previous article in the Getting Started Category.
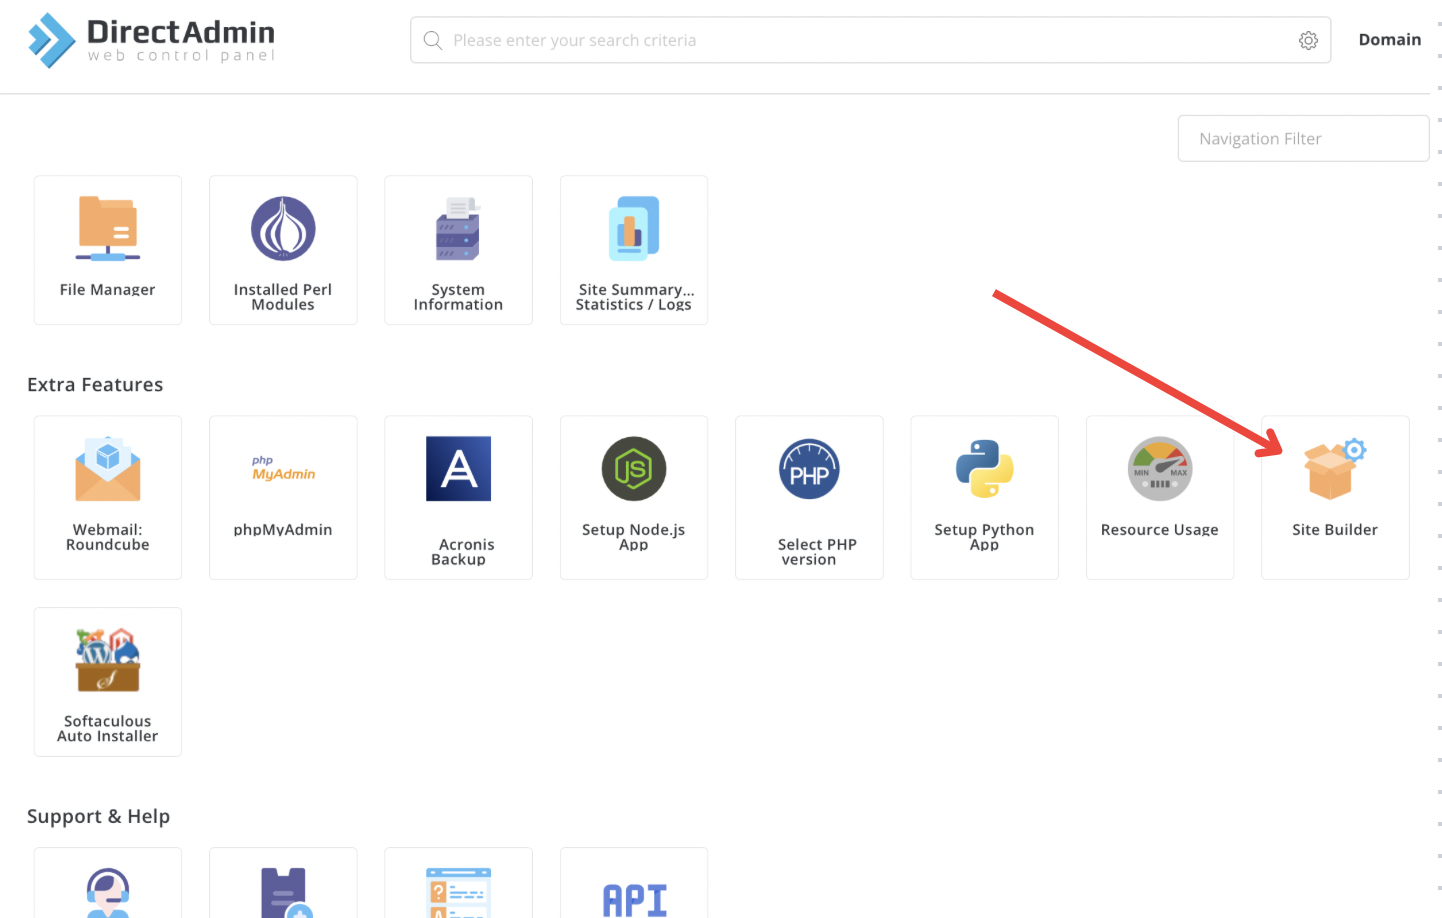
Now that you are logged in click the Sitebuilder icon.
Once clicked you will be redirected to the sitebuilder application where you can start designing your website.
The following video can assist in designing your website using SitePad builder.
More articles on the SitePad Builder can be found on the following link: SitePad KB Articles.
Using WordPress
Using WordPress can be a huge learning curve and time consuming as there is a lot to learn but it can be extremely rewarding as you can design a website that provides professional feel.
To do so login to your web hosting service and click the Softaculous Install icon as per below:

Click WordPress and click on its icon.
Now fill in website details:
URL – The URL where WordPress should be installed. If you want to install it on root domain name (example.com) for eg.
Admin Username – Your WordPress admin username.
Admin Password – Your WordPress admin password.
Admin Email – Enter your email address.
Site Name – The title of your WordPress website.
Site Description – A short sentence explaining what your website is about.
Press Install button and watch it install easily.
Further details on how to design a WordPress website from start to finish can be found on the following link:
https://my.hostking.host/knowledgebase/201204792/Wordpress-from-Start-to-Finish-.html
